Previously I shared some pictures of a garden bed Jericho and I have been working on. Over the long weekend we had some more time to spend on it. While we were away, we got some help preparing the rest of the garden, which would have otherwise taken weeks or months to do by hand:
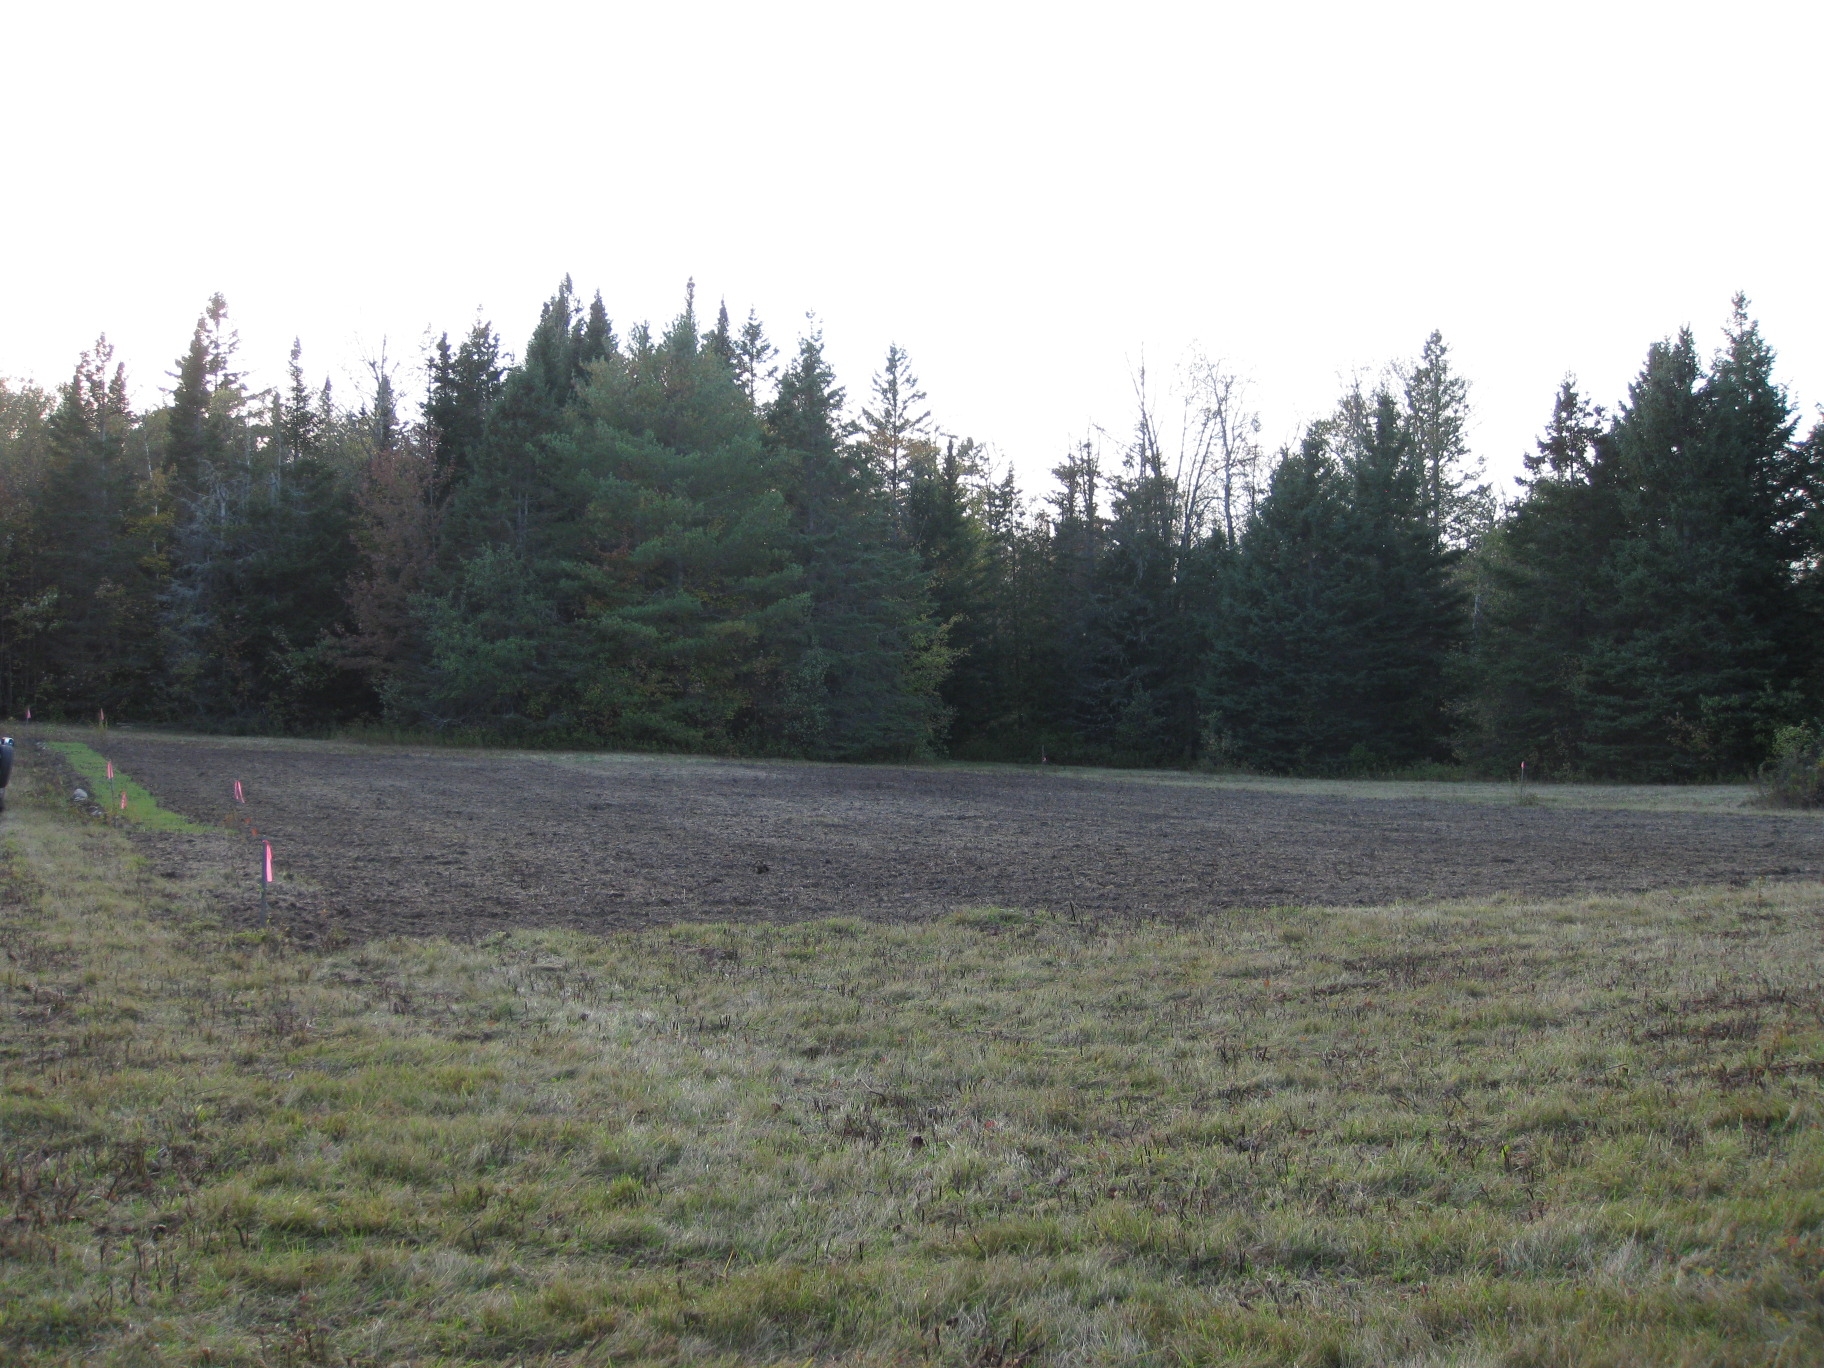
You can see the oats we put in at the beginning of September in the garlic ged on the left side there. They didn’t grow as much as I had hoped:
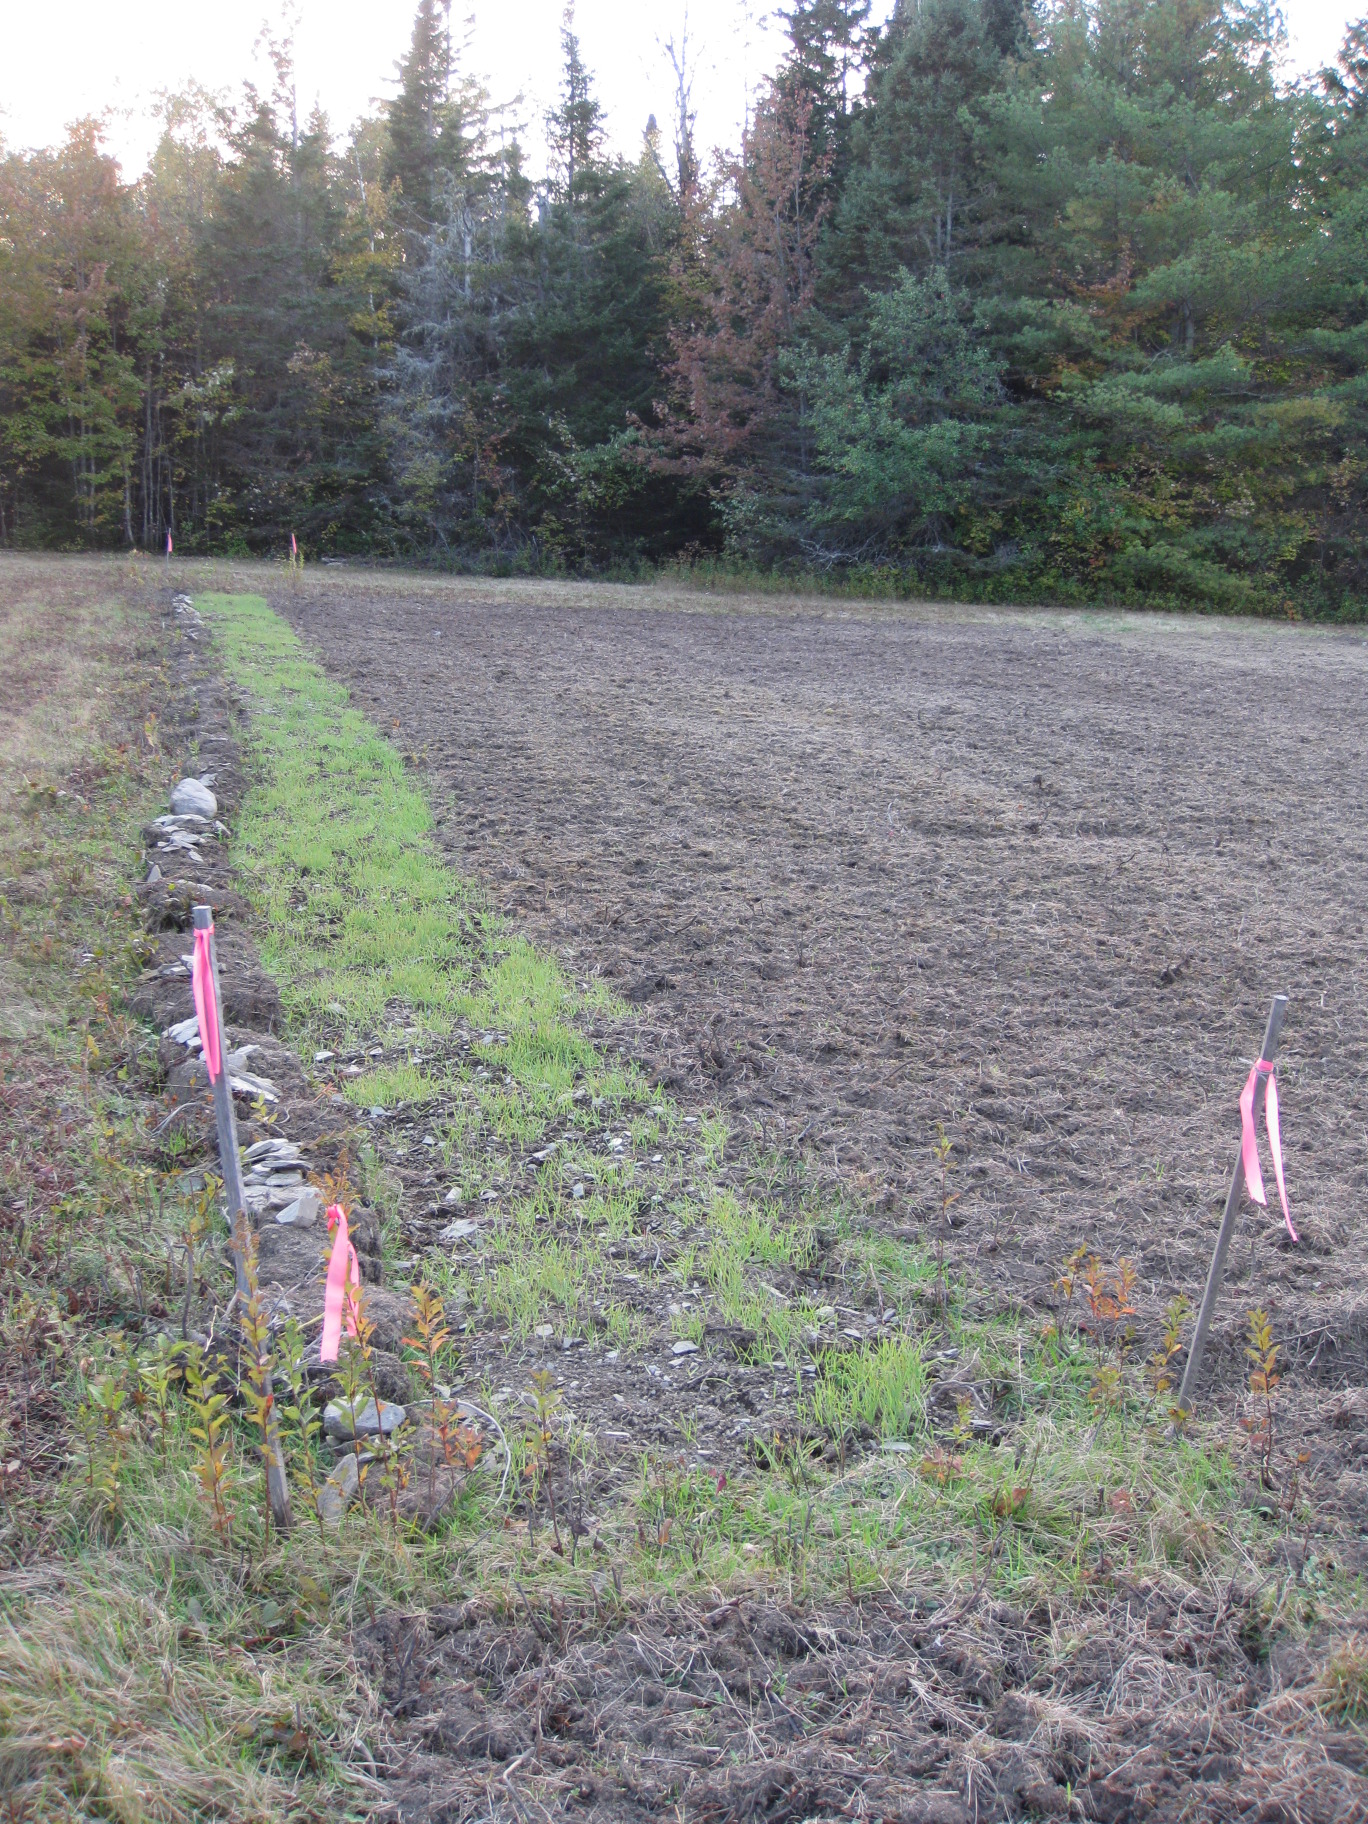
Perhaps due to some nutrient or mineral deficiency. To rectify that (and based on a soil test), we spread a number of amendments, starting with greensand to provide potassium:
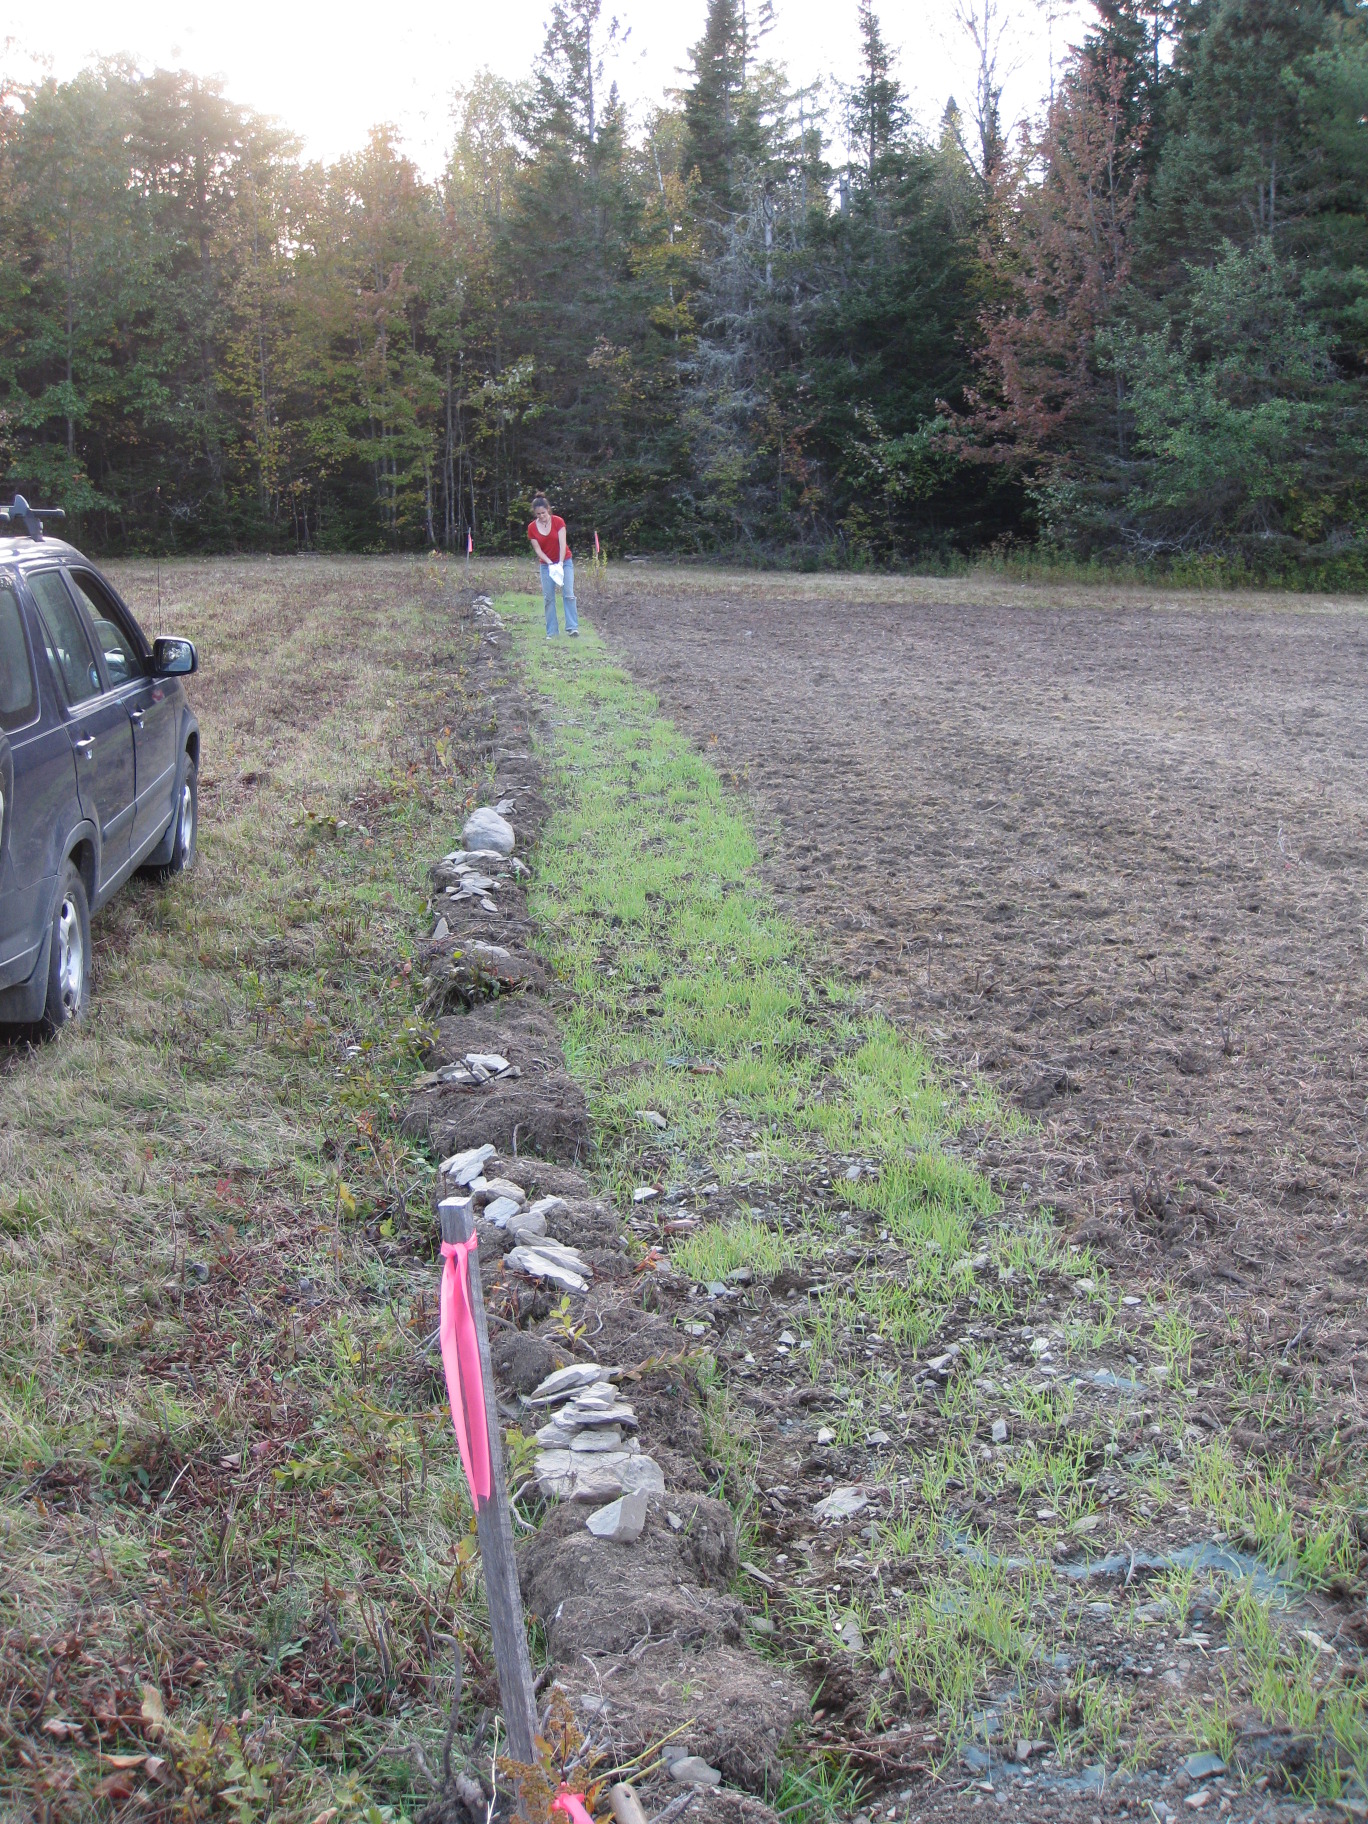
We also spread rock phosphate (for phosphorus) and pelletized lime for calcium and to adjust the pH to be less acidic. And, importantly, compost - about 1 cubic yard over the entire bed (with which task my dad helped us out):
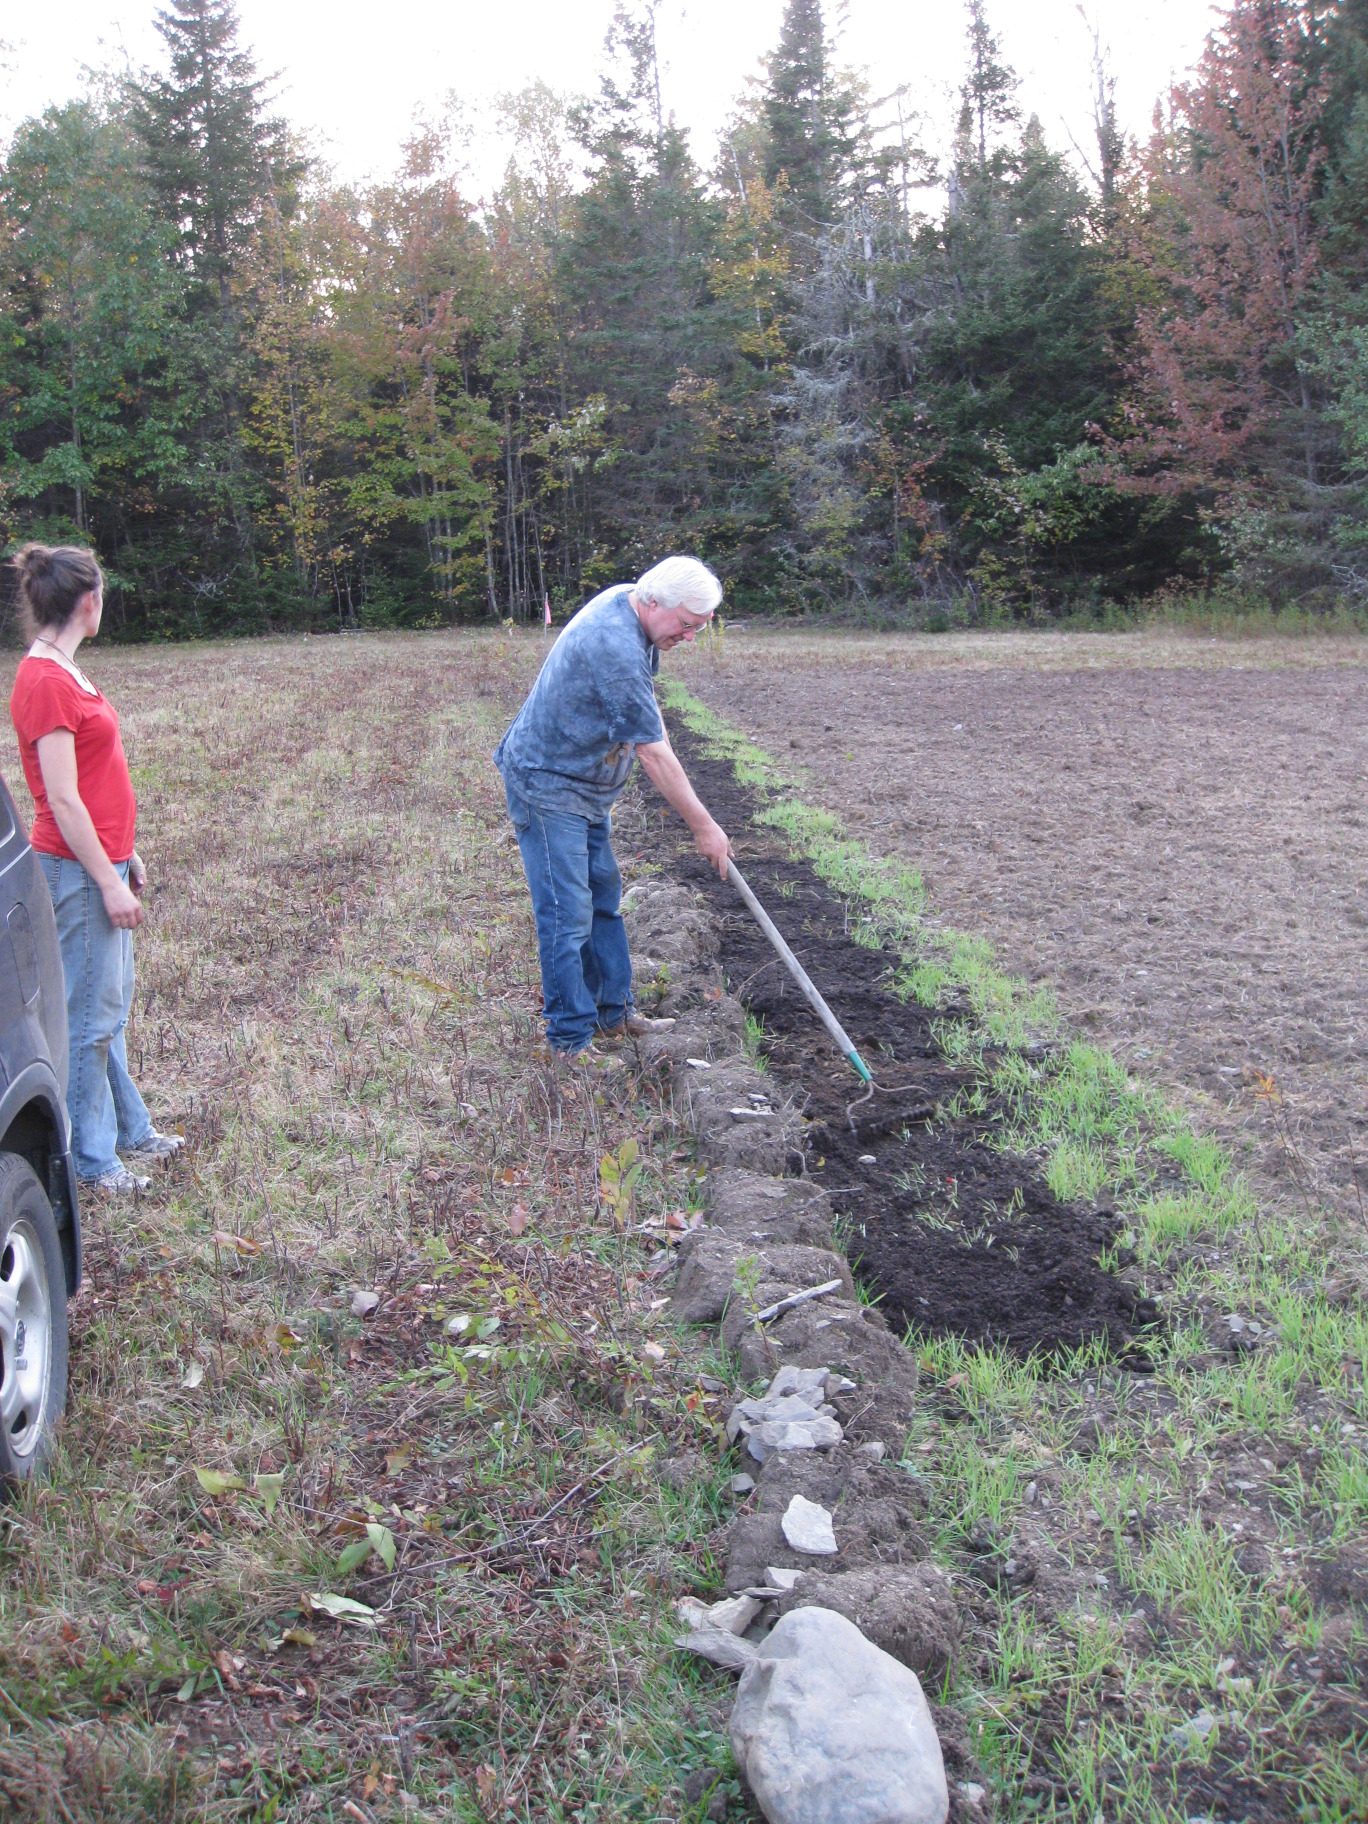
As you can see, we just left the oats in place. They are not cold hardy and will die soon enough without any help. With the bed thusly prepped, we began breaking up our “seed” garlic:

Garlic is most often grown by sowing cloves in the autumn for harvest the following summer. The winter encourages the clove to split and grow into a new bulb. We planted four varieties of garlic, but mostly Inchelium, a softneck variety.

These seed bulbs each had around a dozen cloves in them.

We planted the largest undamaged cloves. We also planted three varieties of hardneck garlic. Compared to the inchelium, these all look pretty similar to each other. Here’s some Siberian Red:

The hardneck varieties have bulbs with fewer, larger cloves. After we broke up the cloves, we planted them! While one of us dropped cloves in pre-marked locations, the other followed behind and planted them.

The cloves are planted right-side-up about one inch deep. Finally we mulched them with straw to even out temperature variations and retain moisture.
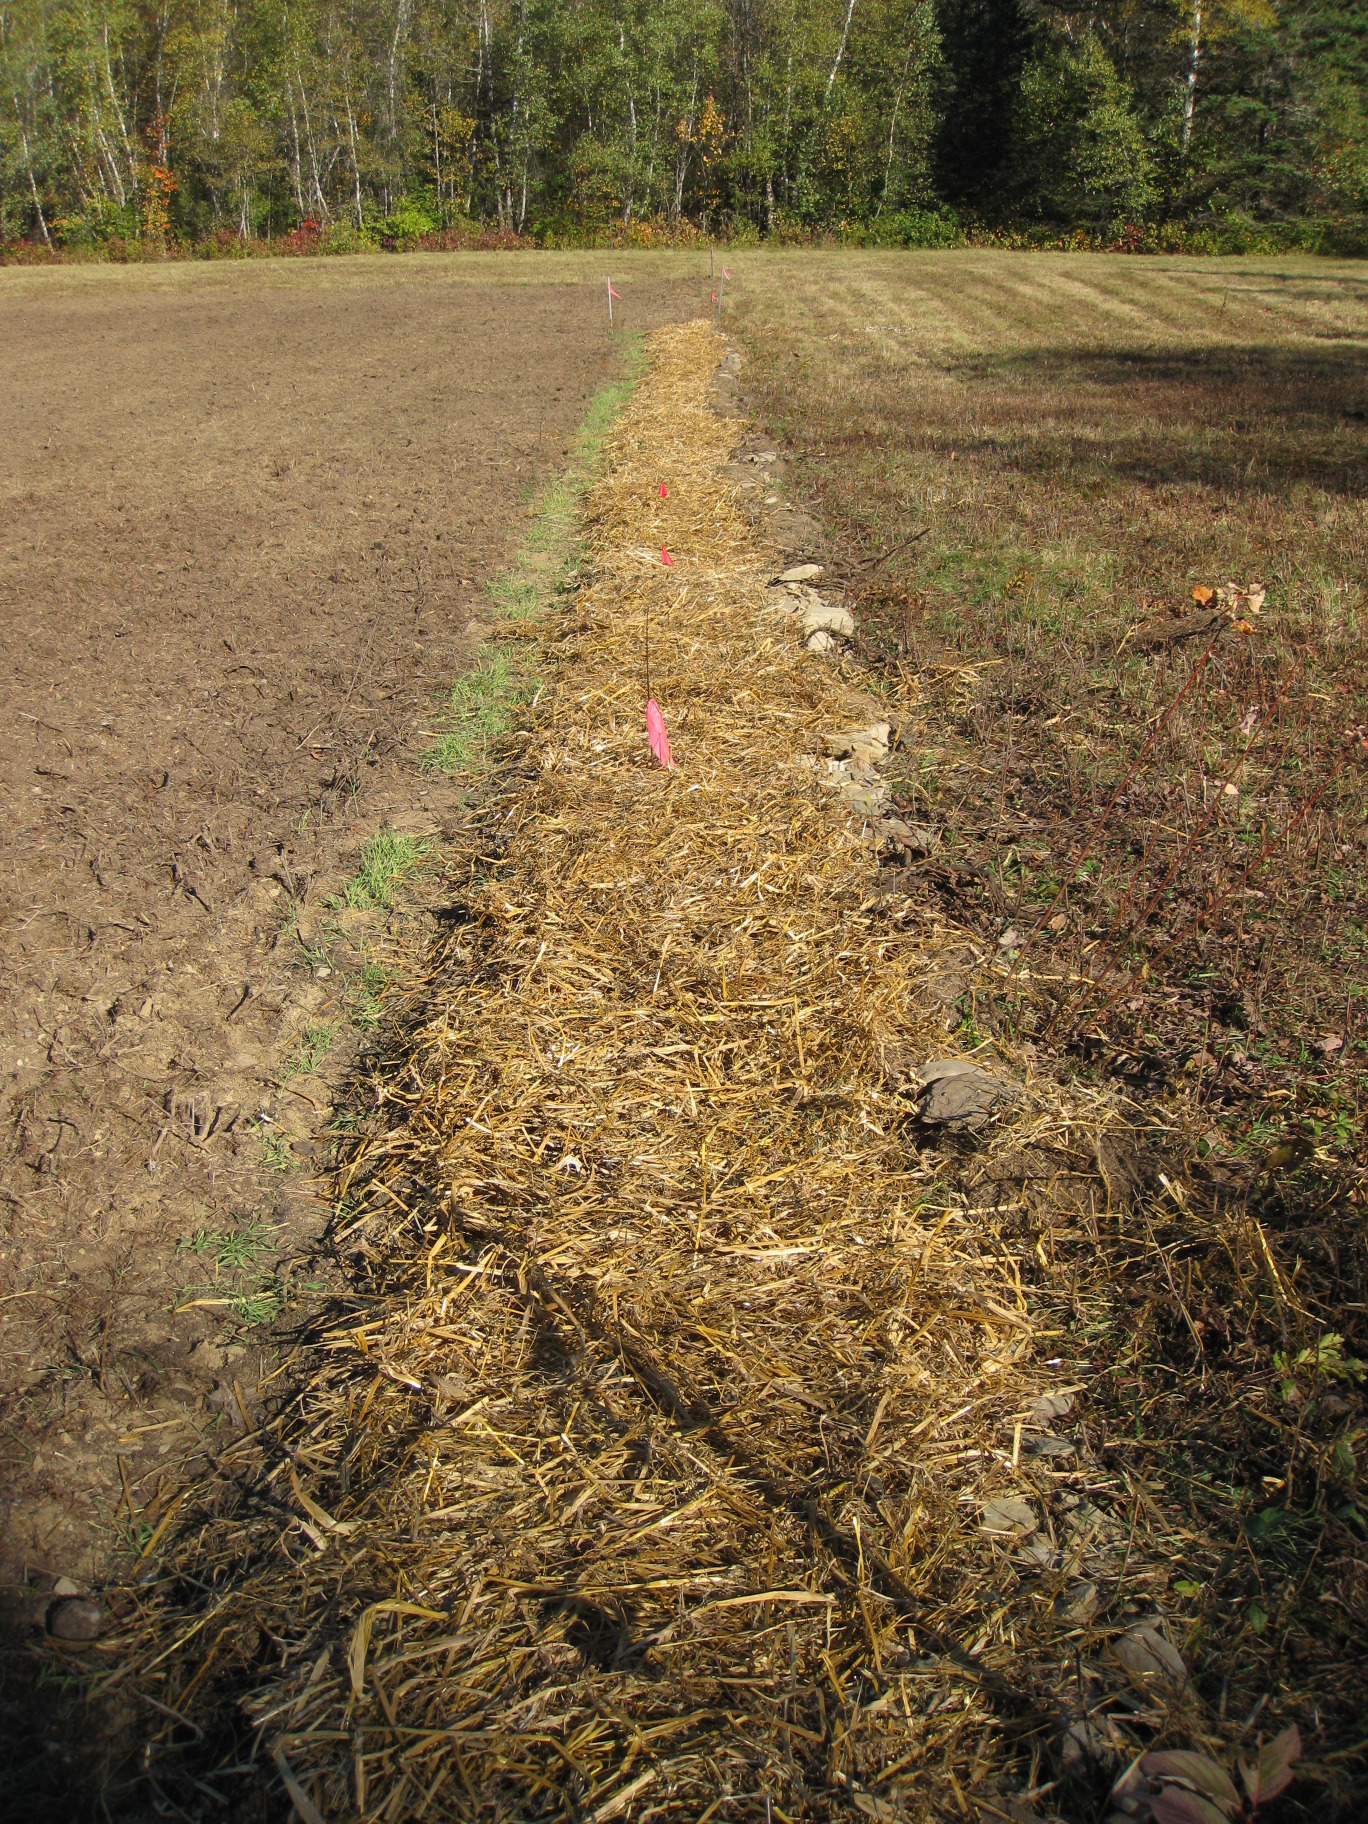
Now the garlic sits tight until next year.